Наръчник First Austria FA-5547-4 Прахосмукачка

Нуждаете се от ръководство за First Austria FA-5547-4 Прахосмукачка? По-долу можете да видите и изтеглите PDF ръководството безплатно на български език. В момента този продукт има 9 често задавани въпроси, 0 коментари и има 0 гласа. Ако това не е ръководството, което искате, моля свържете се с нас.

Продуктът ви дефектен ли е и ръководството не предлага решение? Отидете в Repair Café за безплатни ремонтни услуги.

Наръчник

Loading…

2 3
IMPORTANT SAFETY INSTRUCTIONS
The safety of electrical appliances from FIRST Austria
complies with the recognized technical directives and
legal regulations for safety. Nevertheless, you and
the other users of the appliance should observe the
following:
Please read these instructions carefully before using
this appliance for the rst time and keep them for
further reference.
This product has not been designed for any other
uses than those specied in this manual.
Before connecting the appliance to the power
source, check if the voltage indicated on the
appliance corresponds with the mains voltage
in your home. If this is not the case, contact your
dealer and do not use the appliance.
If the appliance is grounded (protection class I),
the wall outlet and any extension to which it is
connected must also be grounded.
Do not let the cord touch hot surfaces.
Do not leave the unit in a place near a heat source
such as a radiator or air duct, or in a location
exposed to direct sunlight, excessive dust,
mechanical vibration, or shock.
Do not expose the unit to rain or other damp
conditions.
If the appliance or the power cord shows any signs
of damage, do not operate it! Take the product
to an authorized and qualied service center for
inspection or repair.
To protect from electrical hazard, do not immerse
this appliance or cordset in any liquids.
The power outlet must be easily accessible at
all times to ensure that the unit can be quickly
disconnected from the mains.
The ventilation openings must be kept free.
This device is intended for home use only, do not
use it commercially.
Do not use this appliance outdoors.
Do not leave the appliance unattended when
plugged into a power outlet.
Do not leave the appliance unattended while it is
operating.
Vacuuming the following objects is prohibited,
otherwise damage to the vacuum cleaner or
accidents involving personal injury may occur:
- any liquids
- large or sharp shards (broken glass...)
- ammable or explosive substances such as
gasoline or alcohol
- burning or glowing objects (cigarettes, matches or
hot ashes)
Never vacuum people and animals with the vacuum
cleaner.
Always disconnect the appliance from power
after use, before cleaning and in the event of a
malfunction.
Do not pull directly on the power cord, rather pull
on the plug to disconnect the appliance from the
power source.
The appliance can be used by children aged from
8 years and above and persons with reduced
physical, sensory or mental capabilities or lack
of experience and knowledge if they have been
given supervision or instruction concerning use
of the appliance in a safe way and understand the
hazards involved. Children shall not play with the
appliance. Cleaning and user maintenance shall not
be made by children unless they are older than 8
and supervised. Keep the appliance and its cord out
of reach of children less than 8 years.
We are excluded of liability for all damages that
may arise if the appliance is used for purposes
other than originally intended or if it is used
inappropriately.
Repairs and other work undertaken on the unit
must only be done by authorised specialist
personnel!
SCOPE OF DELIVERY
Vacuum cleaner
Universal oor brush
Crevice/brush nozzle
Telescopic tube
Instruction manual
PRODUCT OVERVIEW (see g. 1)
1. Universal oor brush
2. Crevice/brush nozzle
3. Telescopic tube
4. Airow regulator
5. Hose handle
6. Suction hose
7. Hose end
8. Dust container handle
9. Dust container release button
10. Cable rewind foot switch
11. ON/OFF foot switch
12. Power cable
13. Wheel
14. Air outlet lter (HEPA)
15. Air outlet cover
16. Air inlet lter (HEPA)
17. Filter basket
18. Dust container
19. Bottom lid of dust container
20. Latch (bottom lid)
21. Latch (top lid)
22. Top lid of dust container
ASSEMBLY
1. Connect the suction hose and the telescopic tube.
2. Adjust the telescopic tube to a suitable height by
pressing the locking button and pulling the tube
apart or pushing it together.
3. To connect the hose to the vacuum cleaner,
align the latching lug of the hose end
with the groove of the hose
connector, then push the hose
end in until it audibly snaps in
place.
4. To detach the hose, turn the hose end 90° in any
direction and pull it out.
5. Attach the desired cleaning accessory:
Universal oor brush
Position 1:
Brush extended
Position 2:
Brush retracted
Suitable for hard oors Suitable for carpets
Crevice/brush nozzle
For corners, edges or small spaces
OPERATION
1. Before use, make sure that the dust container is
inserted correctly.
2. Pull out the power cable until the yellow marking
becomes visible. If the red mark is visible, the cable
is completely unwound and further pulling may
damage the cable drum. Therefore, unwind the
cable carefully and slowly as soon as the yellow
marking can be seen.
3. Insert the power plug into the power outlet.
4. Press the ON/OFF foot switch to turn on the
vacuum cleaner.
5. To vacuum, pull or push the nozzle over the surface
to be cleaned.
6. If necessary, you can quickly reduce
the suction power by moving the
airow regulator on the hose handle.
This can be helpful when vacuuming
curtains. Slide it backwards to
reduce the suction power and
forwards to increase it.
7. After vacuuming, press the ON/OFF foot switch to
turn o the vacuum cleaner.
8. Unplug the power cord from the power outlet.
9. Press the cable rewind foot switch to wind up the
cord. Hold the cable with your hands while doing
this to prevent it from bouncing back and forth in
an uncontrolled manner.
CLEANING & MAINTENANCE
Your vacuum cleaner is quick and easy to clean and
maintain. Empty the dust container and clean the
lters regularly.
Before cleaning, make sure that the appliance is
switches o and has been disconnected from the
mains.
Never immerse the appliance or power cord in
water. Do not let the electrical parts come into
contact with moisture.
Do not use harsh or corrosive cleaners or solvents.
Clean the housing of the unit with a damp cloth
and then wipe it dry.
EMPTYING THE DUST CONTAINER (see g. 2)
Be careful not to inhale the dust when emptying, as
it could cause health problems or allergies.
Press the dust container release button and pull the
dust container upwards by the handle.
Open the latch of the bottom lid and empty the
dust container directly over a dustbin.
CLEANING THE AIR INLET / DUST FILTER (g. 3)
Do not operate the vacuum cleaner without a lter
or with a damaged lter, otherwise the vacuumed
dust will get into the room air and may cause health
problems or allergies. Replace a damaged lter
immediately.
Open the latch of the top lid and pull the lter
basket upwards out of the dust container.
Unlock the HEPA lter by turning it
counterclockwise. Pulling it out upwards.
Clean the lter basket from dust and rinse the HEPA
lter under running water. Then allow it to dry
completely.
Put the HEPA lter back into the lter basket and
lock it by turning it clockwise.
Place the lter basket back in the dust container.
Make sure that the latching lug of the lter basket is
aligned with the groove of the dust container.
CLEANING THE AIR OUTLET FILTER (g. 4)
The air outlet lter is located inside the wheel below
the ON/OFF foot switch.
Turn the air outlet cover clockwise to open it and
remove the HEPA lter.
In case of light soiling, it is sucient to tap out the
lter, in case of heavy soiling, clean the lter under
running water. Allow the lter to dry completely
before reinserting it.
Place the lter back into the unit and close the air
outlet cover by turning it counterclockwise until it
audibly snaps into place.
ENGLISH
ENGLISH
Изтегли ръководство на български (PDF, 0.74 MB)
(Помислете за околната среда и отпечатайте това ръководство само ако наистина е необходимо)

Loading…

оценка

Кажете ни какво мислите за First Austria FA-5547-4 Прахосмукачка, като дадете оценка на продукта. Искате ли да споделите опита си с този продукт или да зададете въпрос? Моля, оставете коментар в долната част на страницата.
Доволни ли сте от First Austria FA-5547-4 Прахосмукачка?
да Не
Бъдете първи, оценили този продукт
0 гласове

Присъединете се към разговора за този продукт

Тук можете да споделите какво мислите за First Austria FA-5547-4 Прахосмукачка. Ако имате въпрос, първо прочетете внимателно ръководството. Заявката за ръководство може да бъде направена чрез нашата форма за контакт.

Повече за това ръководство

Разбираме, че е хубаво да имате хартиено ръководство за вашия First Austria FA-5547-4 Прахосмукачка. Винаги можете да изтеглите ръководството от нашия уебсайт и да го отпечатате сами. Ако искате да имате оригинално ръководство, препоръчваме ви да се свържете с First Austria. Може да са в състояние да предоставят оригинално ръководство. Търсите ли ръководството на вашия First Austria FA-5547-4 Прахосмукачка на различен език? Изберете предпочитания от вас език на началната ни страница и потърсете номера на модела, за да видите дали го предлагаме.

Спецификации

Марка First Austria
Модел FA-5547-4
Категория Прахосмукачки
Тип файл PDF
Размер на файла 0.74 MB

Всички ръководства за First Austria Прахосмукачки
Още ръководства на Прахосмукачки

Често задавани въпроси за First Austria FA-5547-4 Прахосмукачка

Нашият екип за поддръжка търси полезна информация за продукта и отговори на често задавани въпроси. Ако откриете неточност в нашите често задавани въпроси, моля, уведомете ни, като използвате нашата форма за контакт.

Маркучът на прахосмукачката ми е запушен, какво да правя? Проверен

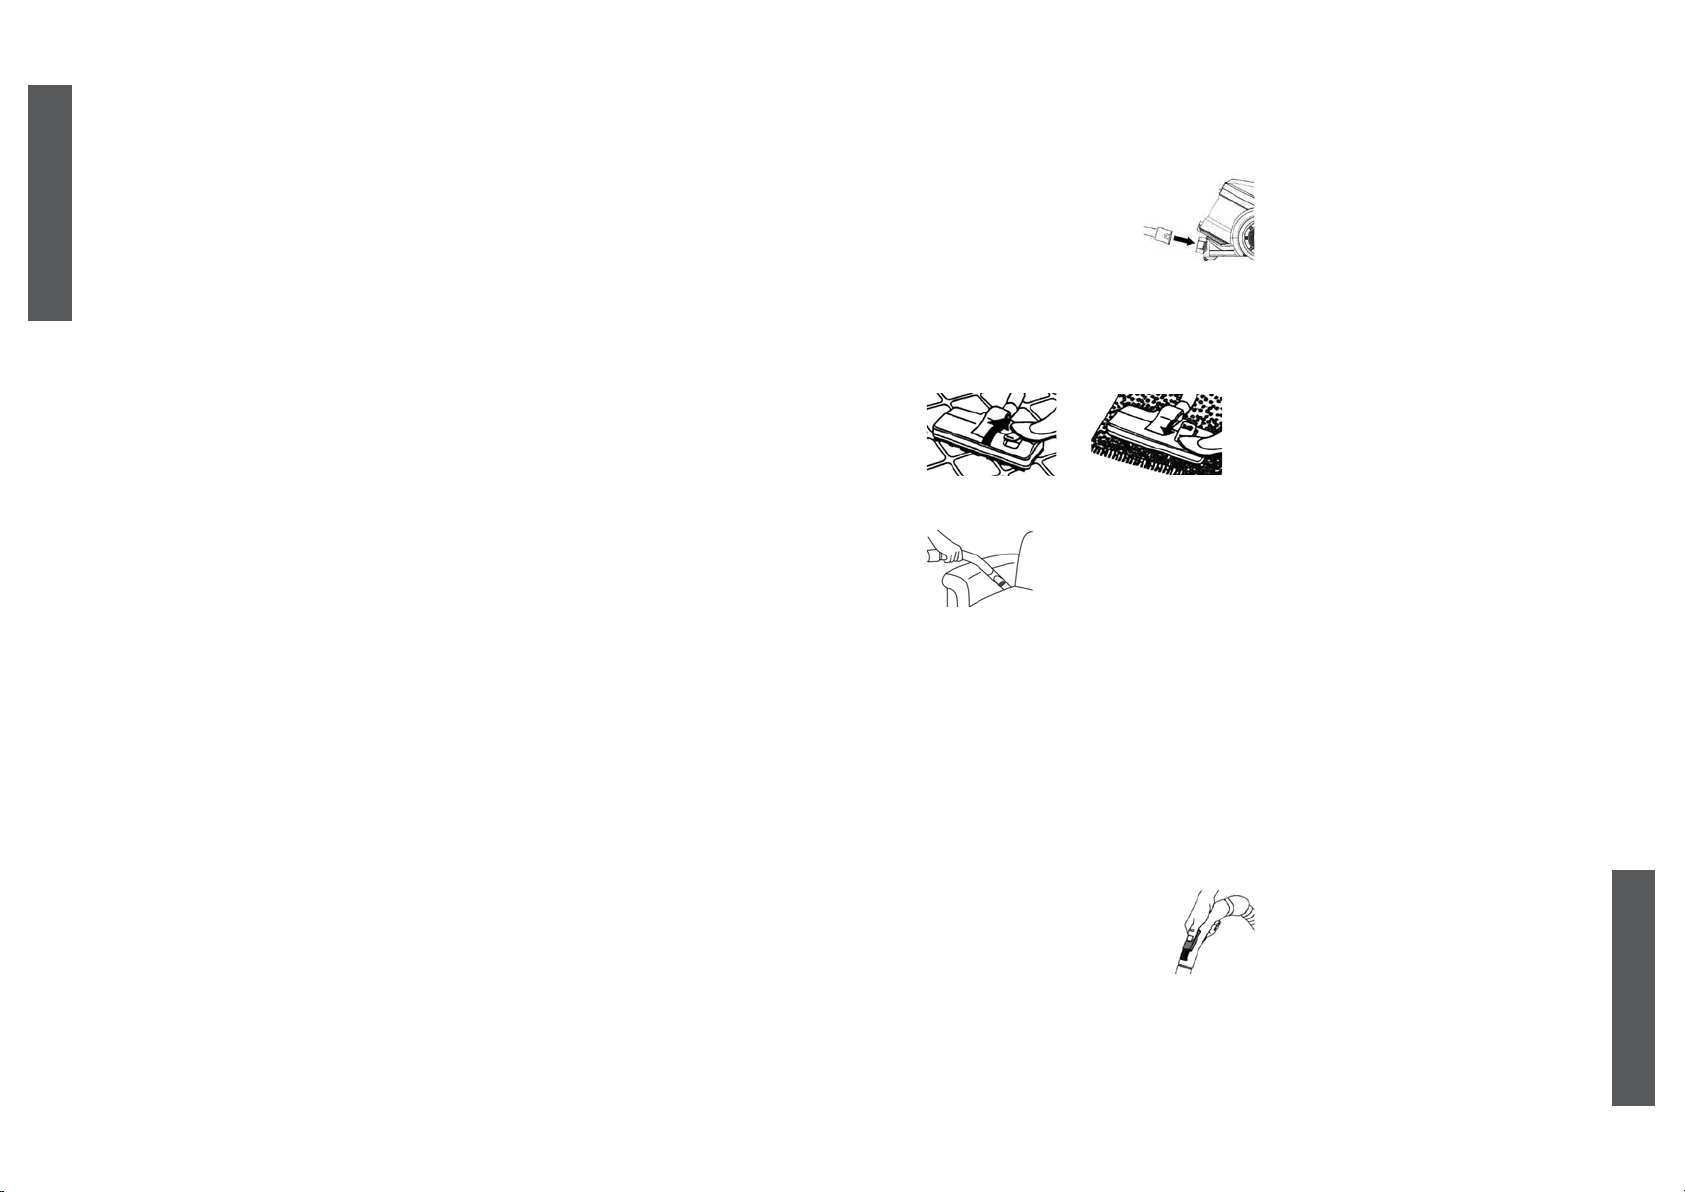
Отстранете маркуча и погледнете през него, за да определите дали наистина е запушен. Ако случаят е такъв, можете да вземете дълъг предмет като метла и внимателно да го прокарате през маркуча. Това обикновено ще премахне всички предмети, които запушват маркуча. Ако това не помогне, трябва да се свържете с производителя.

Това беше полезно (1660) Прочетете още

Какви размери торби за прах има? Проверен

Има два размера, които трябва да се имат предвид. Първо е размерът на табелата с входа на чантата. Това определя дали торбичката за прах ще пасне на определена прахосмукачка. След това е размерът на чантата. Това обикновено се посочва в литри и определя колко прах може да побере торбата.

Това беше полезно (1206) Прочетете още

Захранващият кабел на моята прахосмукачка не се навива обратно в устройството, какво мога да направя? Проверен

Възможно е кабелът да е усукан или прегънат. Разточете напълно кабела няколко пъти и го навийте обратно в устройството под ръководството на ръцете си. Ако това не реши проблема, възможно е механизмът за навиване на кабела да е повреден. В такъв случай се свържете с производителя или сервиз за ремонт.

Това беше полезно (857) Прочетете още

Как да премахна праха и космите от главата на четката на прахосмукачката? Проверен

Отстраняването на прах и косми от главата на четката на прахосмукачката се извършва ръчно. Ако това не върви по желание, възможно е да използвате фин гребен, за да отстраните останалата мръсотия.

Това беше полезно (754) Прочетете още

Моята прахосмукачка издава свистящ звук, какво мога да направя? Проверен

Този проблем често се причинява от пълна торба за прах или филтър или когато има отвор, който пропуска въздух в маркуча. Проверете торбата за прах и филтъра и ги сменете, ако е необходимо. Проверете маркуча за дупки или лоши връзки. Ако това не реши проблема, свържете се с производителя.

Това беше полезно (726) Прочетете още

Каква настройка на главата на четката на прахосмукачката трябва да използвам? Проверен

Почти всички прахосмукачки имат глава с регулируема четка. Използвайте четката за твърди повърхности, за да предотвратите драскотини и повреди. Изключете четката за килими и килими.

Това беше полезно (572) Прочетете още

Мога ли да използвам хартиена торба за прах повече от веднъж? Проверен

Това не е препоръчително. Порите на торбичката ще се наситят, причинявайки загуба на засмукване и евентуално повреда на двигателя.

Това беше полезно (376) Прочетете още

Какво е HEPA? Проверен

HEPA означава High-Efficiency Particulate Air. Много прахосмукачки имат HEPA филтър. HEPA филтър ще спре най-малко 85% и най-много 99,999995% от всички частици от 0,3 микрометра (µm) и нагоре.

Това беше полезно (367) Прочетете още

Мога ли да използвам обикновена прахосмукачка за засмукване на пепел? Проверен

Не, това е абсолютно невъзможно. Пепелта, която изглежда охладена, може все още да е топла или дори гореща вътре. Обикновената прахосмукачка не е предназначена за това и може да предизвика пожар. Освен това филтрите на обикновените прахосмукачки не винаги са подходящи за задържане на изключително малки частици като пепел. След това може да достигне до двигателя на прахосмукачката и да причини повреда.

Това беше полезно (367) Прочетете още
Наръчник First Austria FA-5547-4 Прахосмукачка

Свързани продукти

Свързани категории

×
Download